Step 1 according to the reprap forums was to take a rubber mallet, and drive a short 2020 extrusion into the corner pieces to "shave" off some of the rough inside. So that's what i started off with.
They should have warned that its a really tight fit! 20 minutes later i found myself with 3 bottom corner pieces, and 3 short extrusions totally stuck in there. They just wouldn't budge. After searching around, i found a very helpful tip the next day that told me to soak the stuck corner in hot water, and then hit it with a mallet. luckily, that worked a charm. I was already browsing ebay to buy replacement corner pieces...
Next step: drilling the top corner pieces so that the M3 screws that will hold the top bearings can fit in the badly printed holes:
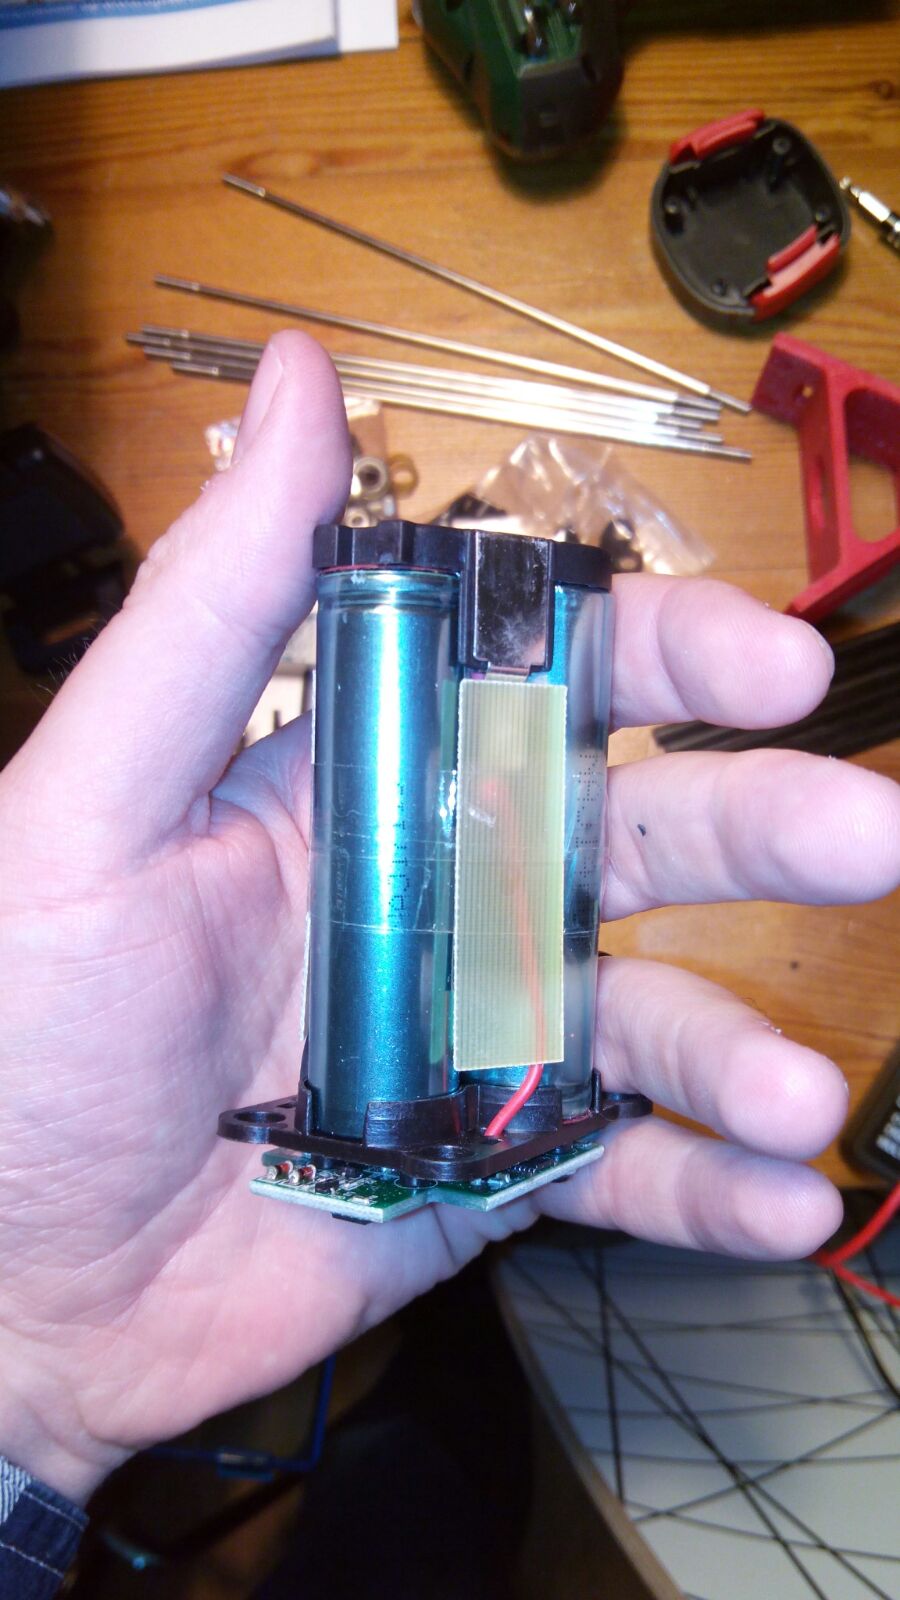
Immediately i ran into frustration nr2: apparently my drill died. The battery which is supposed to provide 11v only provides 6.5v now, so probably one of the 3 battery cells died after 1 year of collecting dust in a closet.
It's still under warranty, but i know i can fix the battery pack myself with a spare 18650 battery, but not without voiding the warranty... I don't want to void my warranty, but i want to continue building the printer now... the struggle is real!
So i started off with things that i can do. I started building the bottom and part of the top frame.
The first corner was a bit of a struggle. after that it was smooth sailing. You care basically repeating the same steps 6 times.
And then i ran into problem #3: bad quality nuts. they provide these special nuts to lock 2020 extrusions, but they are of bad quality. the screws didn't grab a couple of them properly, and the worst part is that you only find out about that when you push everything together, and to replace it, you must take it all apart again.
After inventing a couple of now swearing words, i have to say that i cant be disappointed for today.
Below are pictures of the progress.


I made more pictures of the building itself, but i found out tonight that the SDcard was still in my laptop apparently. So no pictures saved, and only pictures of the final result.
Hopefully i can make some more progress in 2 days.
No comments:
Post a Comment